 copy")

Hello Love,
A bit back I did a room for one of my good friends, and for some reason I just never got a chance to post some of the DIYs, Tips & Tricks, & How to’s!

Check out some of the Reveal Here.
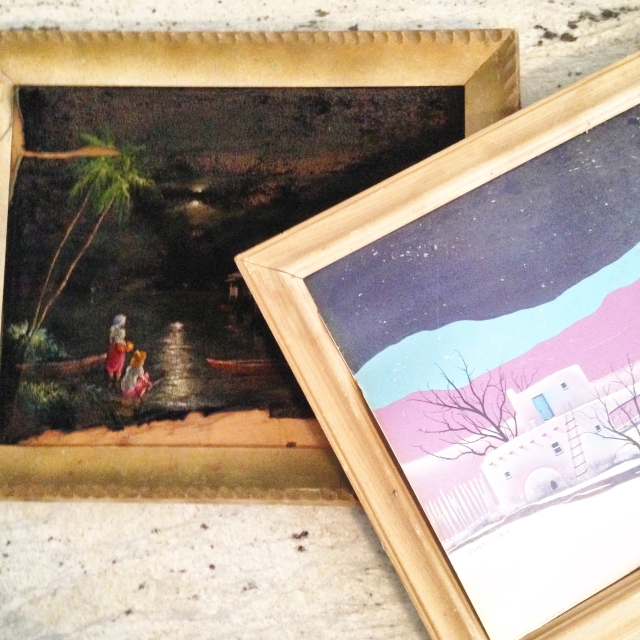
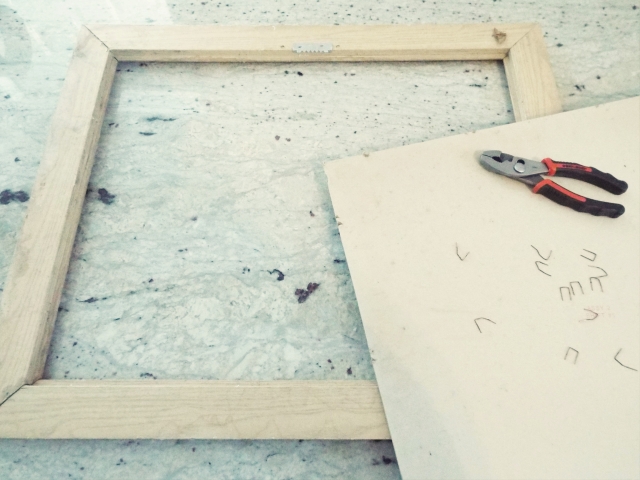
Frames, they can be expensive! So one of my quick and easy inexpensive ways to grab a few good frames is to go flea market hunting!
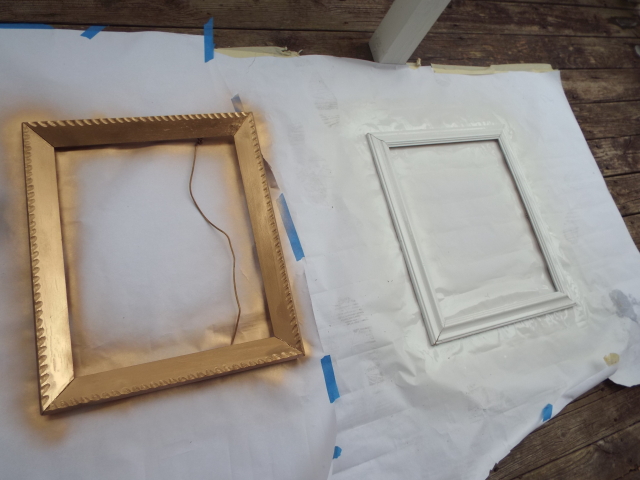
I got the two frames you see for under $5 bucks for both of them! I know, STEAL of a DEAL!
The trick is to make sure you are getting quality materials, some frames can be made out of cardboard and you don’t want that. Look at the frame itself and not the pictures! Don’t get distracted and always low ball on the price.
PRO Tip: Don't just go out and buy the item or offer a price. Make sure you ask what they are selling it for and say you'll take it for a few extra dollars less than what they are asking. That' the beauty of Flea Market, Yard sales and Estate Sales!
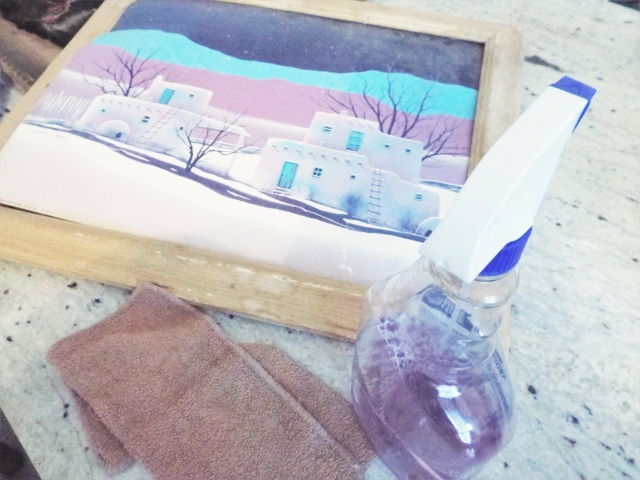
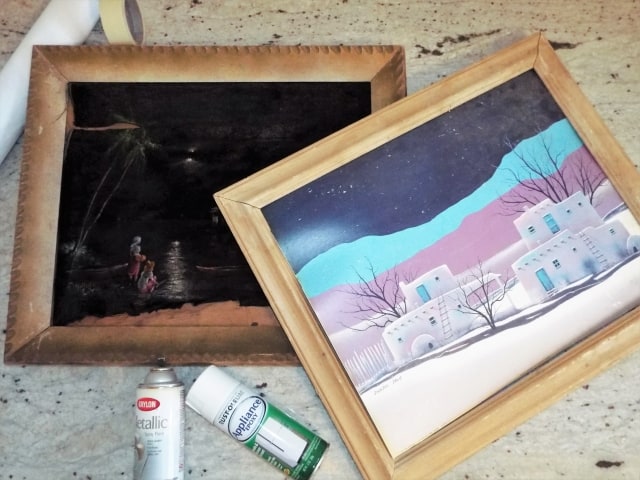
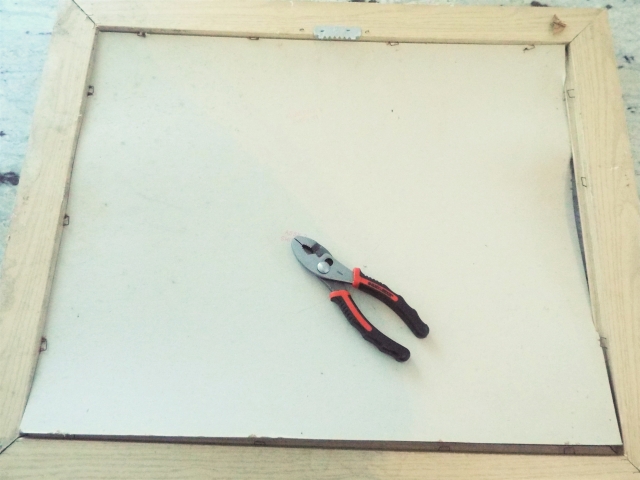
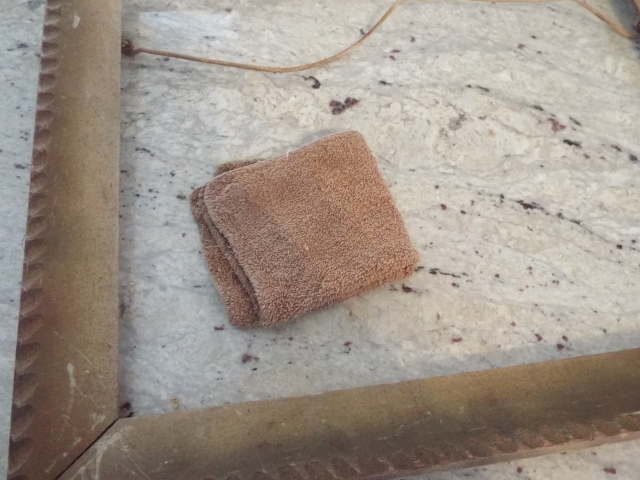
This frame has a few stains. I always like to wipe things down and if needed sand them down!
Before…
AFTER…
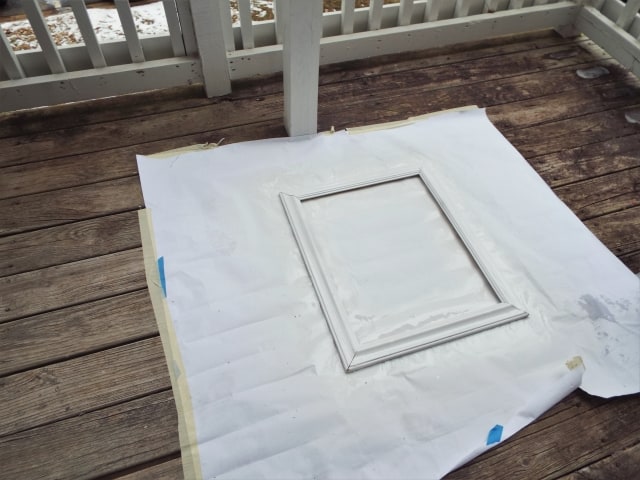
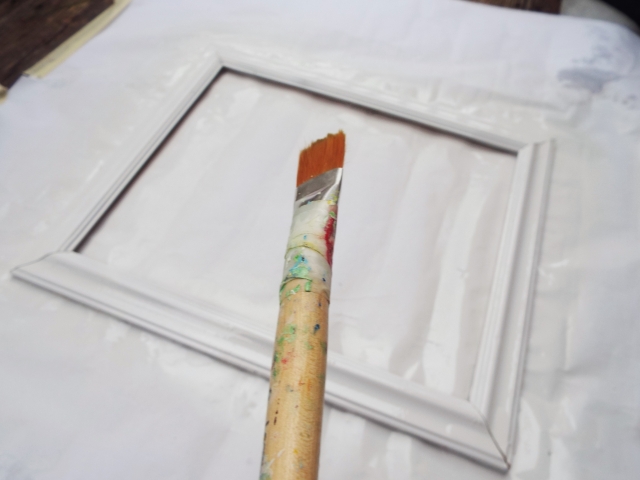
I used a white Rust-Oleum Appliance Epoxy for this project it’s washable & moisture resistant.
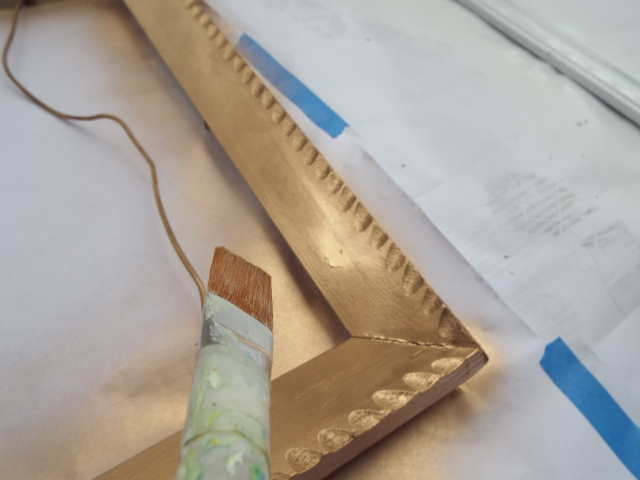
After I spray paint my project down I like to go over it with a brush. I just used one of my painter’s brush but you can also use a regular house-hold paint brush. I just don’t like how soft they are, with this brush I feel as though I have more control over how much pressure I apply.
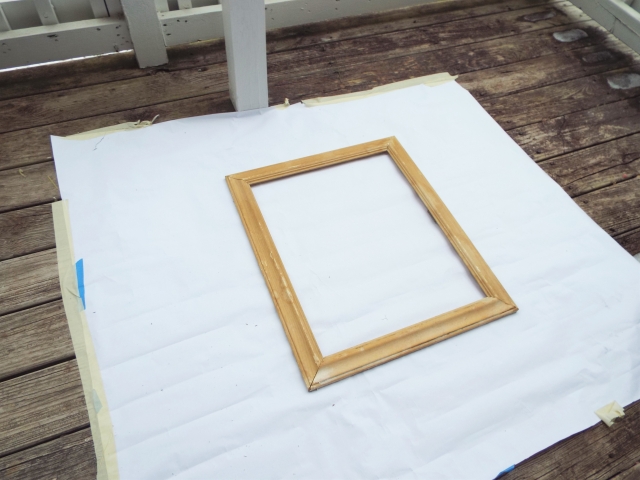
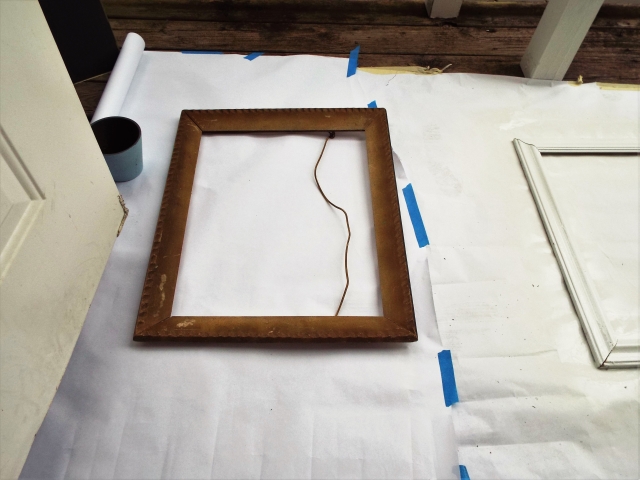
Before
AFTER
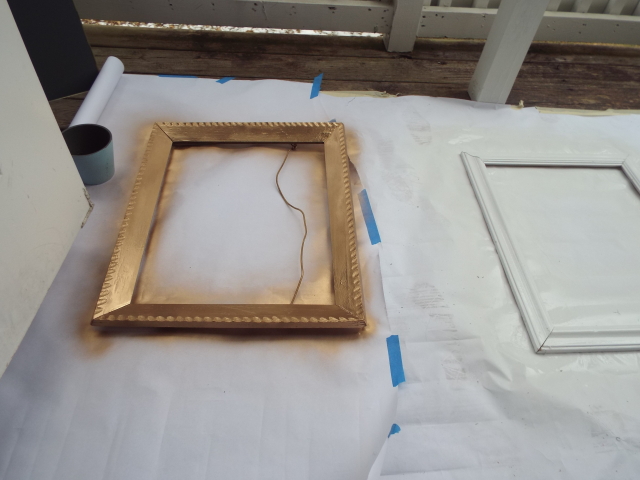
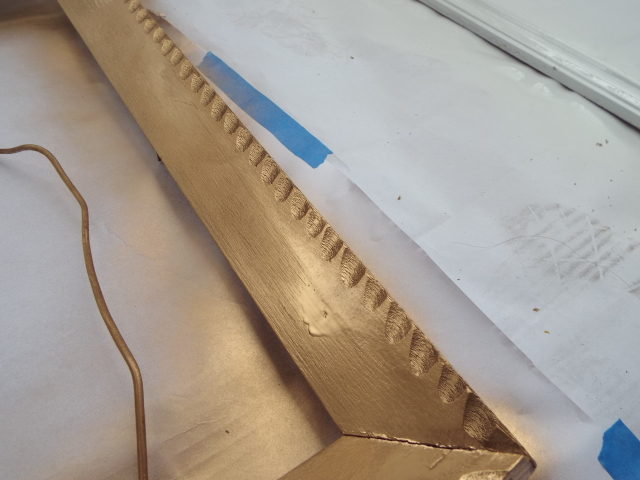
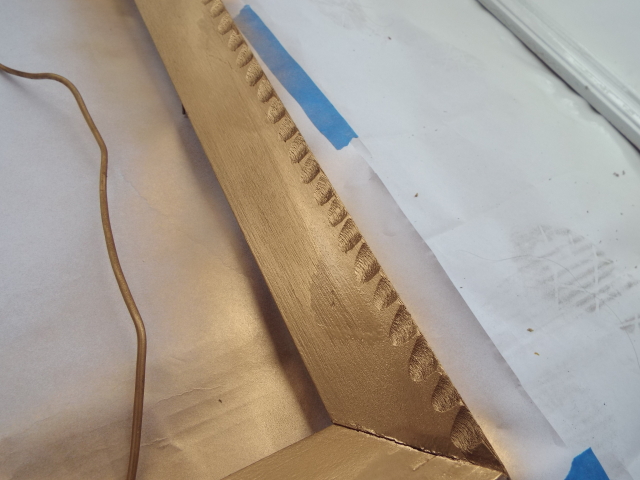
I used a gold Krylon Metallic Spray Paint and I really Loved the way it turned out!


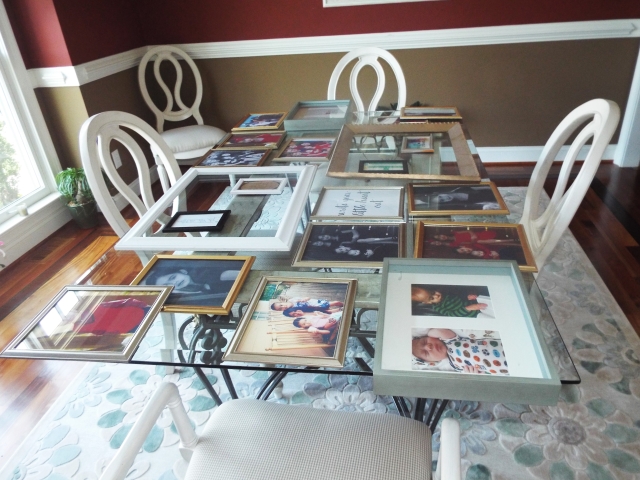
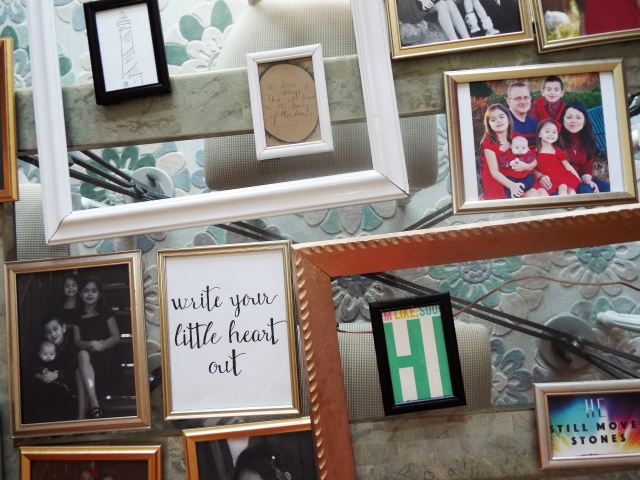
PRO Tip: For a Gallery Wall - First lay out your frames on either a kitchen table or floor if you need a guide on what looks best, from there take a picture and begin to assemble on your wall! Make sure to allow proper spacing in consideration to amount of wall you have.
Thanks so much for Joining me today!
What are your PRO tips when Flea Market Hunting or creating a gorgeous Gallery Wall!?


