Hello Love!
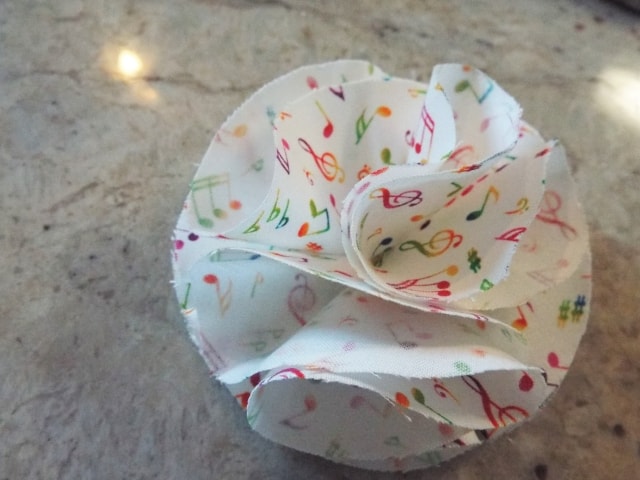
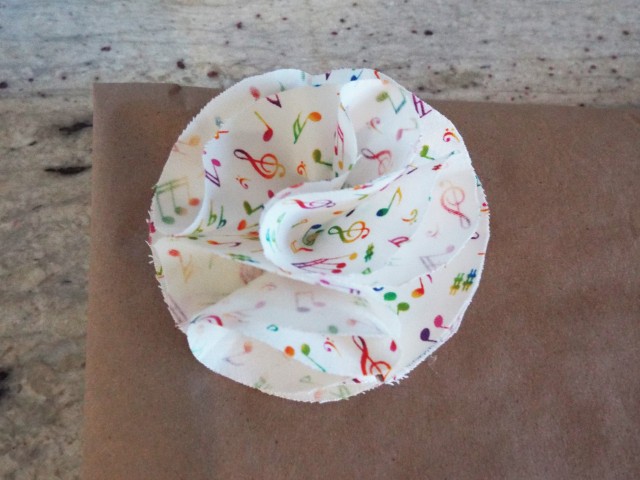
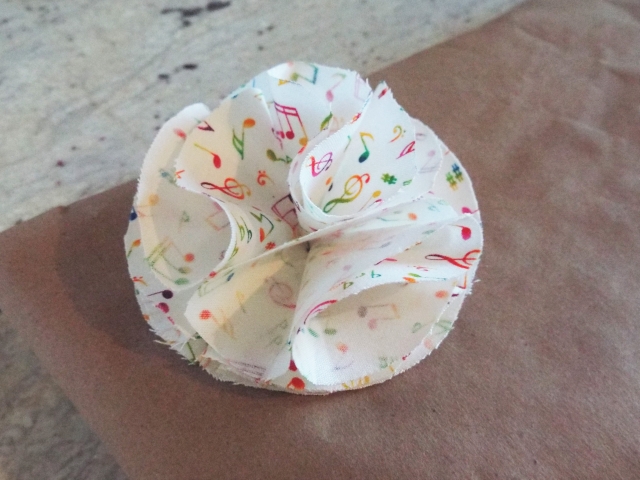
I’m soooo excited to bring to you all today an awesome & easy DIY with Fabric flowers!
Yay!
So let’s get to it!
What You’ll Need
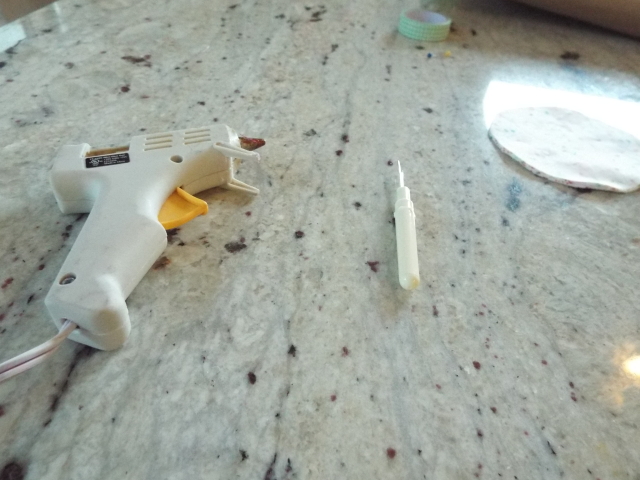
- A Glue Gun
- A jar or Tape roll ( To draw about a 3-4 inch circle)or something that can give you both a 3″ & 3″ 1/2 inch circle
- Scissors
- 4″ Felt Square
- A fat quarter of Your choice fabric!
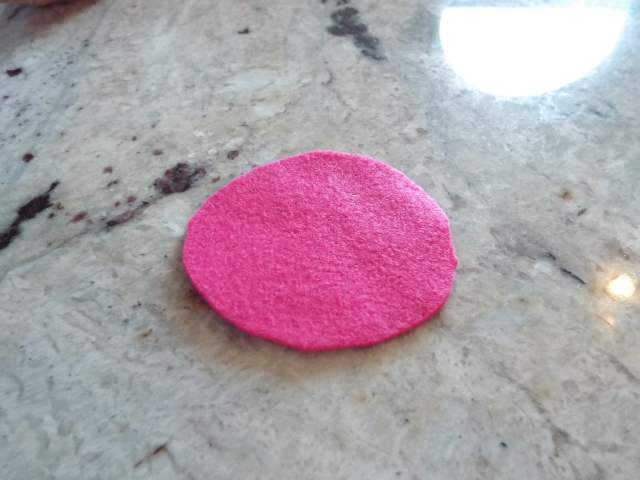
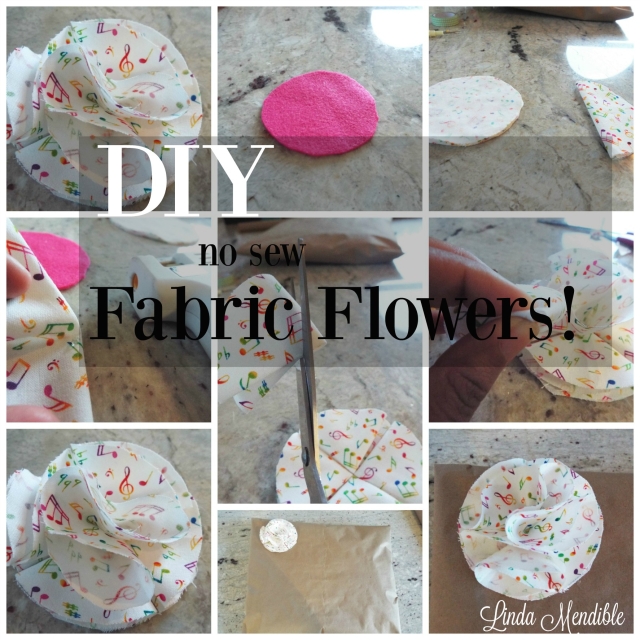
[dropcap]1.[/dropcap]Draw a 3 inch circle over your felt and cut out.
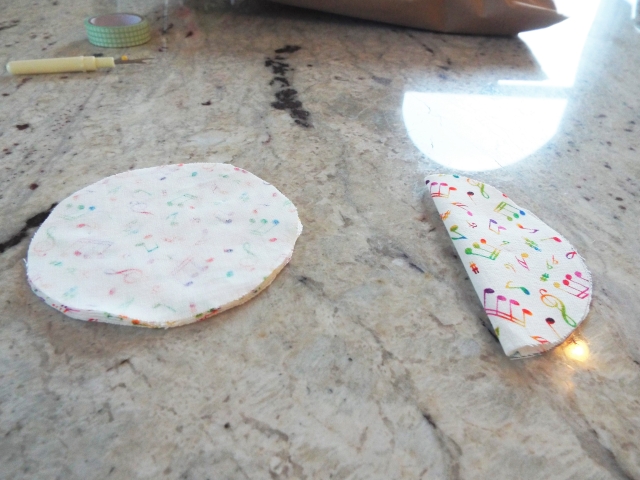
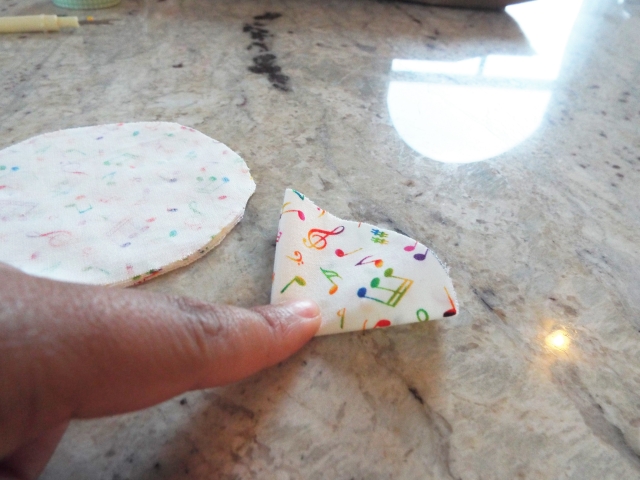
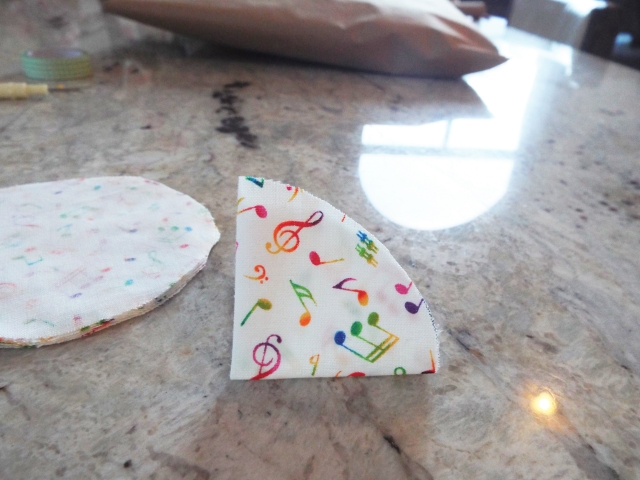
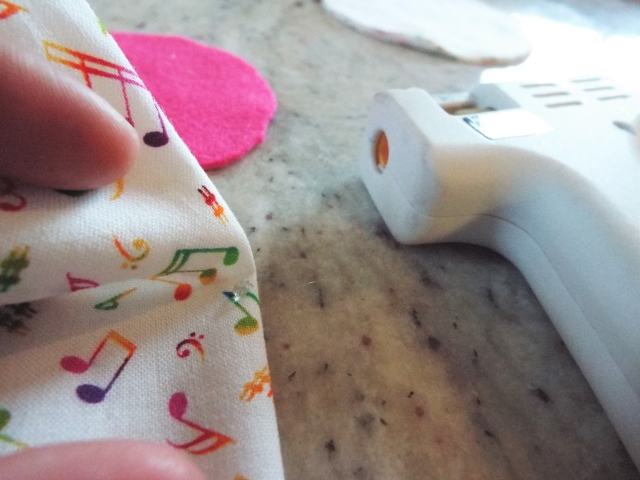
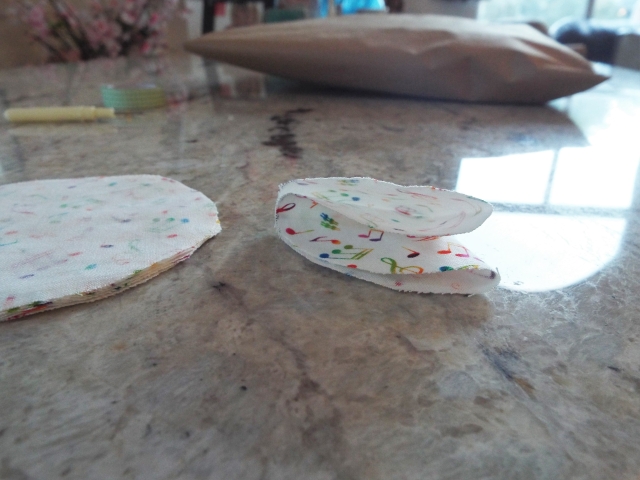
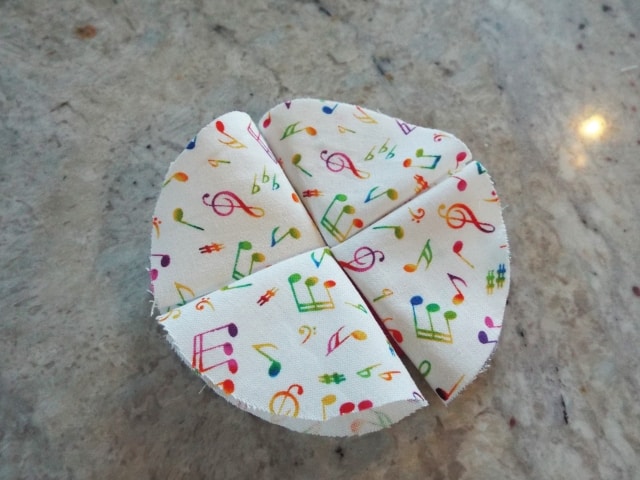
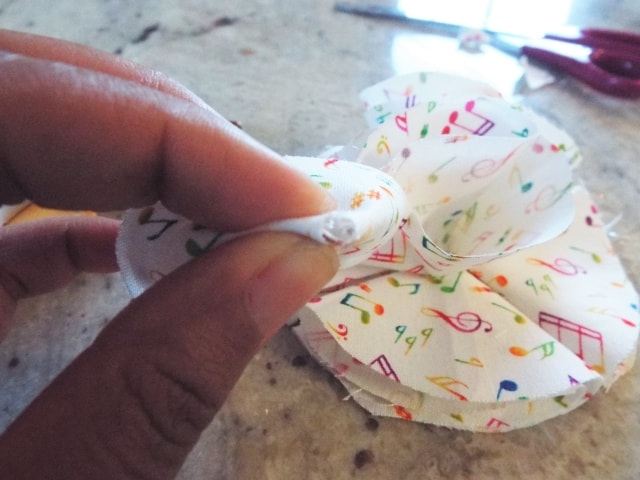
[dropcap]2.[/dropcap] Cut six, 3 1/2 inch circles with your choice fabric and begin to fold each piece in half twice. Example above is folded once, example below is the second fold.
[dropcap]3.[/dropcap] Glue the center of 4 of your 6 pieces from your main fabric (once you fold the second time).
[dropcap]4.[/dropcap] Using your glue gun begin to glue, in place your 4 pieces, to your 3 inch felt.
Tip: Secure the tips.
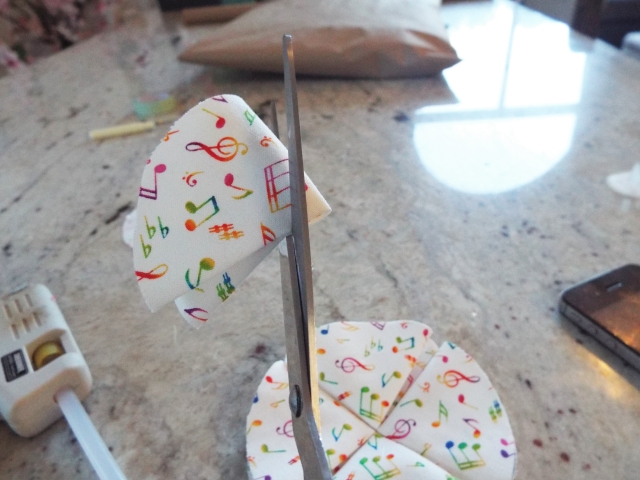
[dropcap]5.[/dropcap] Cut the tips of the 2 remaining pieces…
[dropcap]6.[/dropcap] Using your glue gun place a dab on the tip of the pedal you just cut and secure towards the center of your flower.
[dropcap]7.[/dropcap]You can place the last two pieces side by side of each other and Fluff!
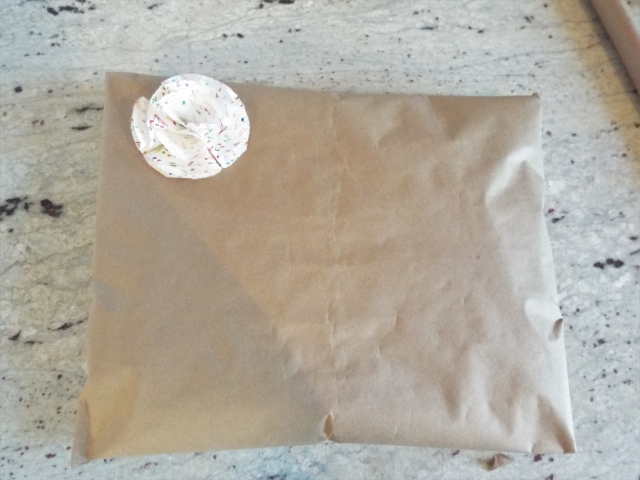
These flowers are easy, simple and look effortless. You can add them on to headbands, can be used on gifts in place of a bow and more!
Pro Tip: If you like more of a frayed look, use a soft bristle brush & brush out the edges.
xoxo
P.S. Can’t get enough of flowers also check out –

