Hello Love!
First I’d like to apologize on the quality of some of these images, I did my best and unfortunately much of the work I do is done when the sun is down and Emanuel (my beautiful baby boy, uh huh, he’s such a cutie!) is asleep. No worries Love! It’s still a great, How to Upholster a Piano Bench – DIY! Yay!
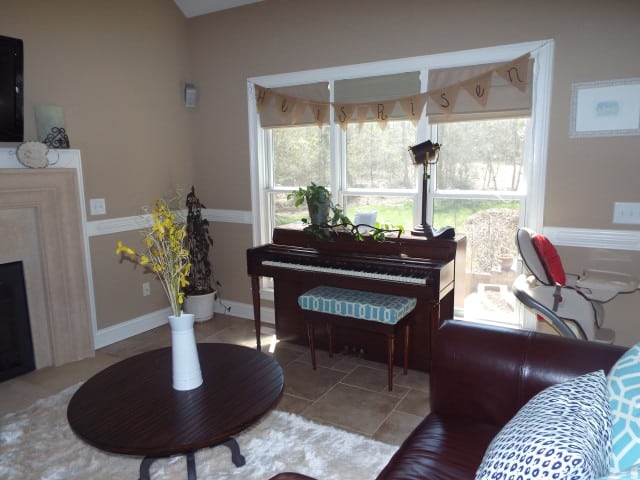
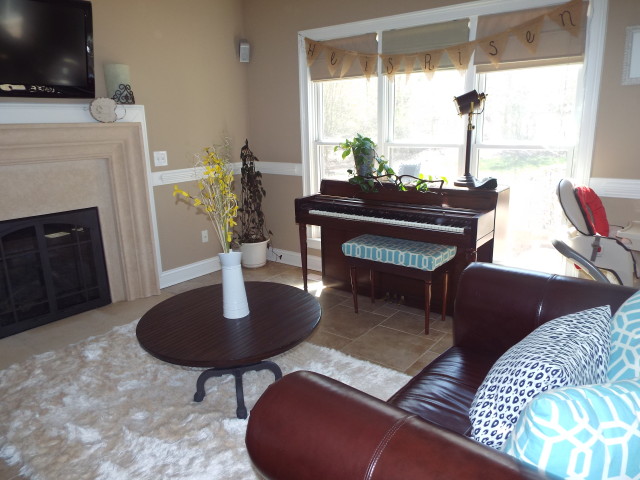
I think it’s the little things that count and often go a long way. When upholstering this piano bench you can see a huge difference in the over all impact of the space.
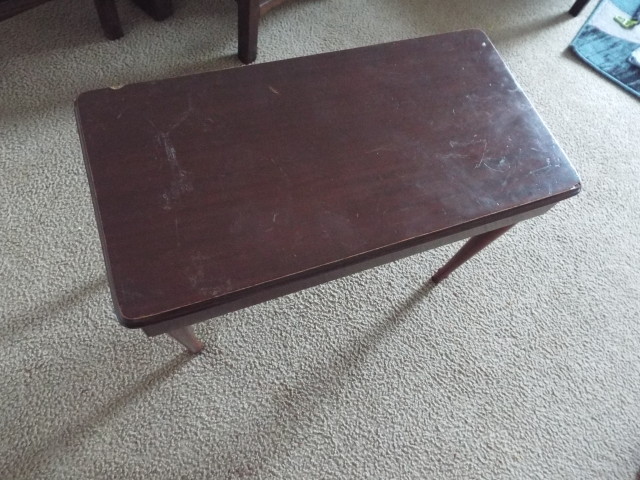
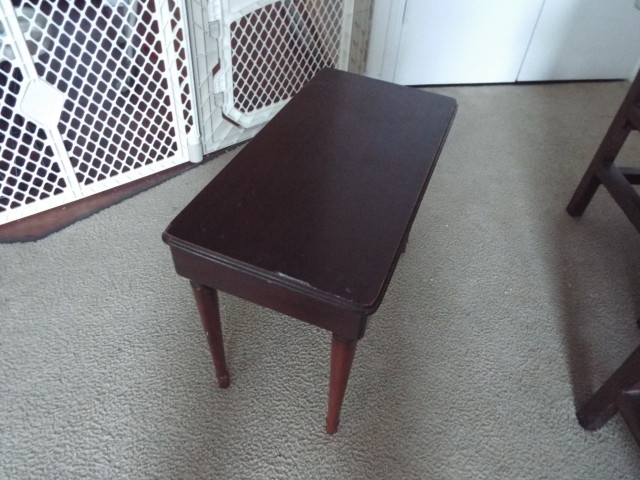
Here is what the piano bench looked like before…
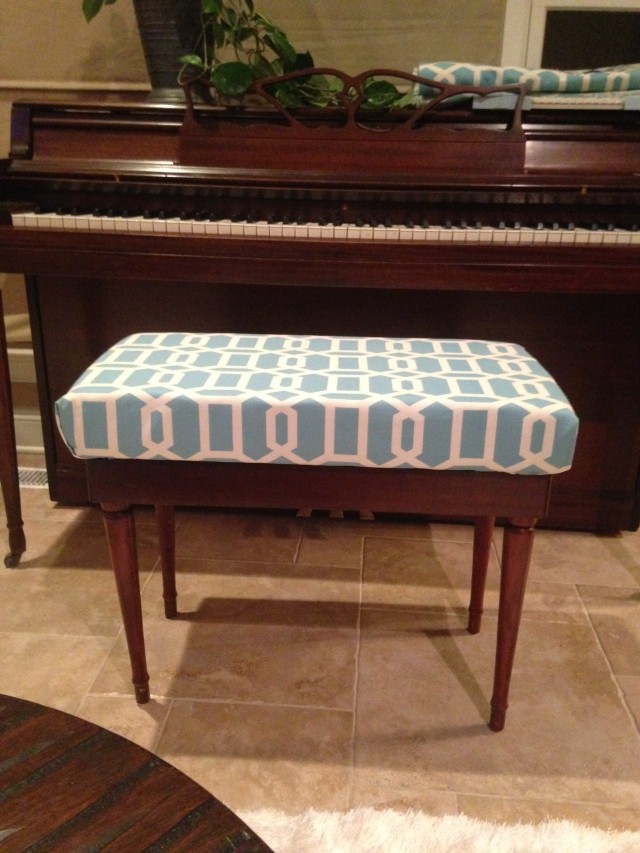
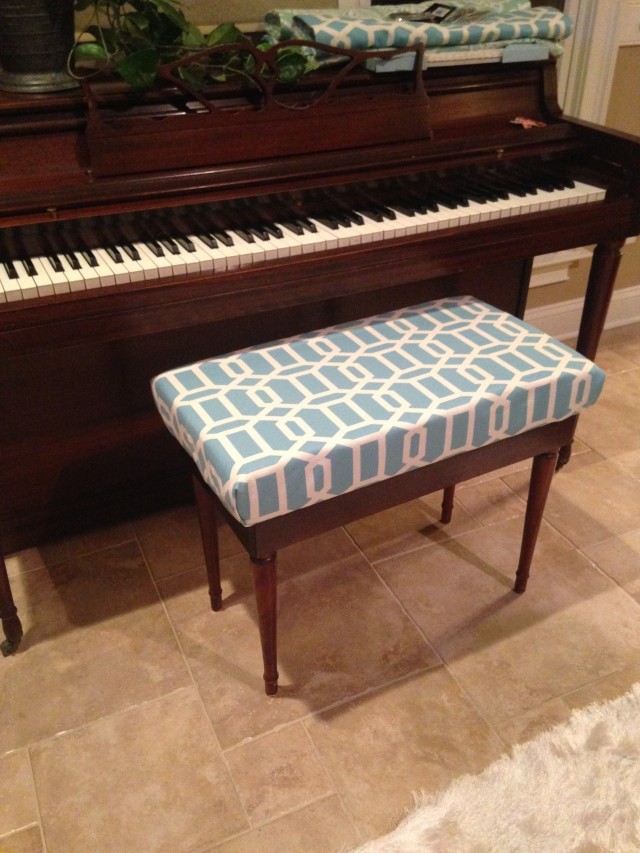
& After…
Without further adieu…
Here is what you’ll need…
1. Piano Bench (but of course!)
2. Your choice Fabric ( I decided to match the pillows and a few custom curtains I made🙂 )
3. Batting
4. Measuring Tape (Optional, if you have a good eye you can do it!)
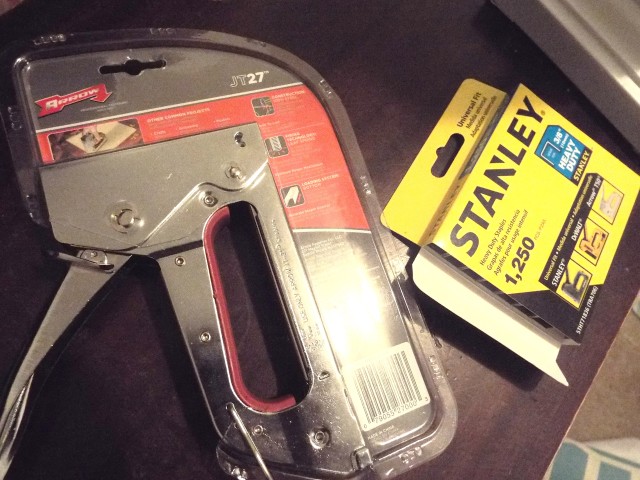
5. Staple Gun (You don’t have to go over the top any heavy duty staple gun is fine, you don’t have to go extravagant)
6. Staples (Make sure to get the right ones! Lord knows I had to make 2 trips!)
7. Foam!
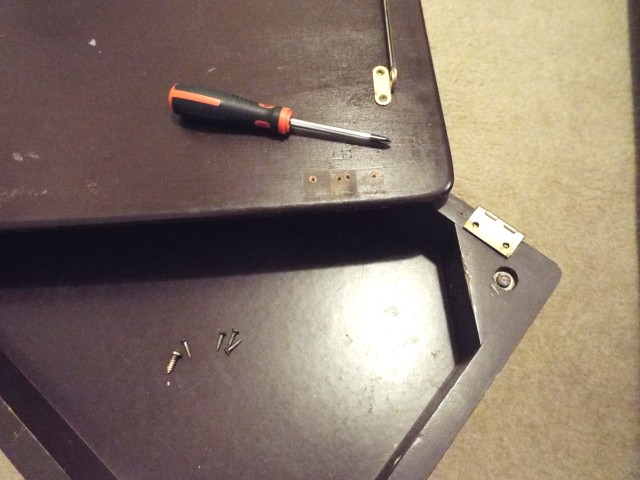
8. Flat head or Philips depending on the screws.
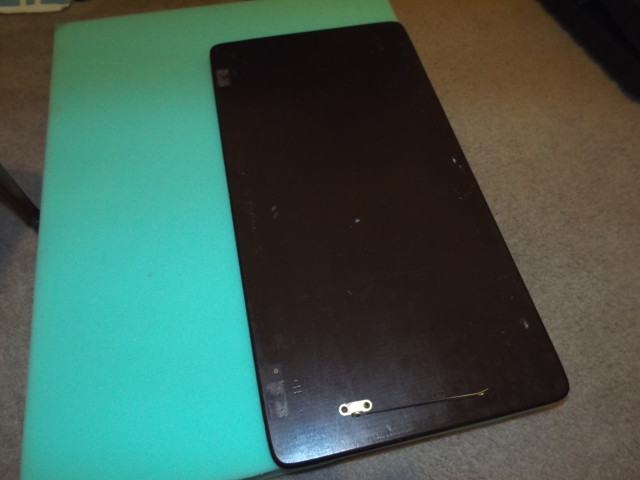
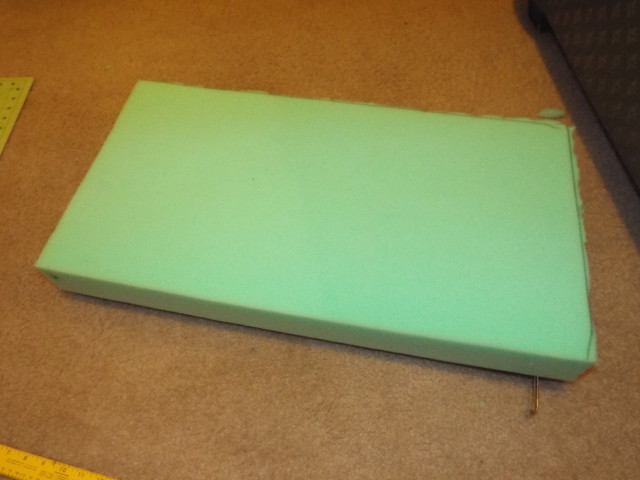
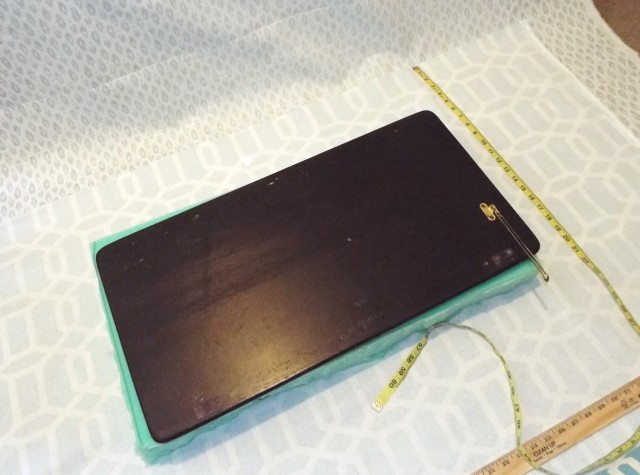
After you’ve unscrewed all of the, well screws, measure out your foam & cut! Don’t forget to place all of your screws in a safe place!
Measure twice cut once!
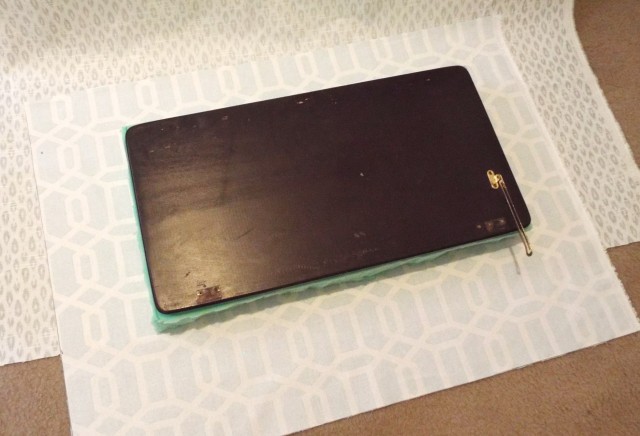
Place your remaining top bench & foam on top of your fabric to measure and cut to size…
….I like to take one of the free side of the fabric to measure how much I’ll actually need as a border. This allows for a good overall circumference. I believe I left about 5-7 inches of border.
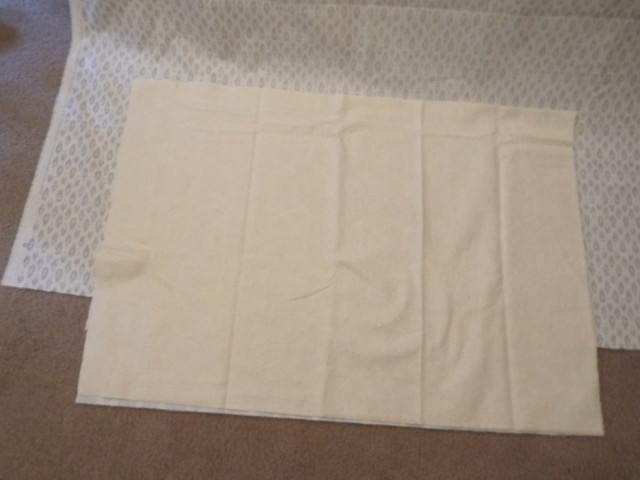
From their cut out your Batting to your fabric size, the batting is used for smoothing out those edges.
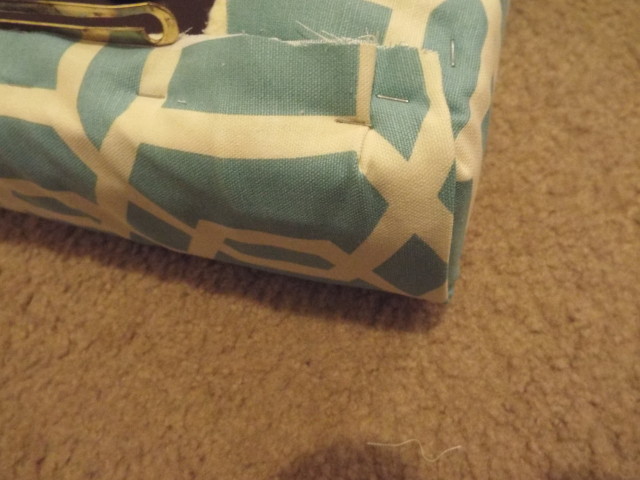
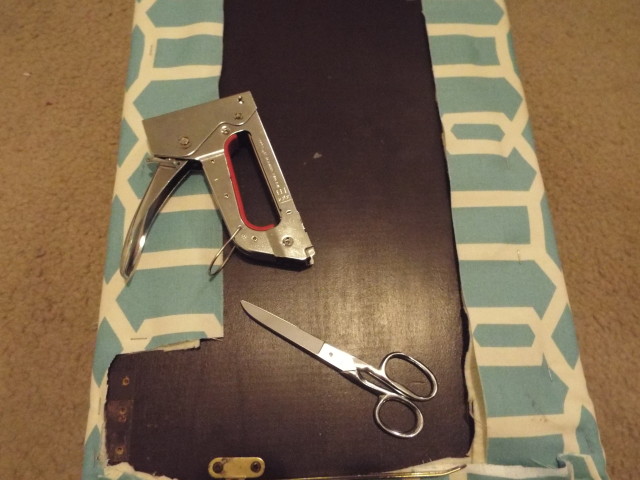
Wrap the fabric around your foam and piano bench top. Think of this project as somewhat like wrapping a present. Make sure to take into consideration where you need to reattach the bench top to it’s bottom, and cut out that portion.
And…Wala!
You’ve got yourself a custom upholstered piano bench!
Thanks for stopping by! Share it! Pin it! Do it!

